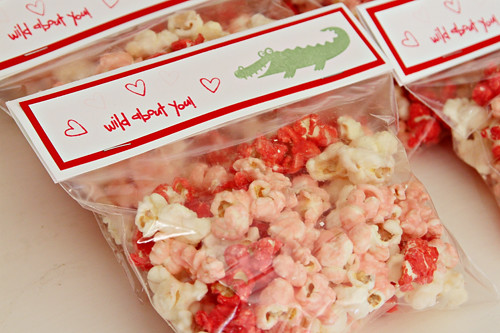
Super Easy Candy Coated Popcorn
(adapted from This Blessed Nest)
Popcorn
Candy Melts in desired colours, ~1 oz per generous cup of popped popcorn
Salt (optional)
Pop your popcorn. Place in a large bowl.
In a double boiler or a heatproof bowl over a pot of boiling water, melt candy melts. Drizzle candy melts over popcorn, and toss to coat. Sprinkle a little salt as you toss if you like your popcorn salty & sweet.
Spread popcorn on a parchment-covered baking pan, and let sit for half an hour or so, until candy coating has set. Break apart gently with your hands, since the pieces will have stuck together.

The tags are also homemade - now that my craft area has been reorganized, I was able to find exactly what I needed to make these cute little tags, the perfect size for ziploc sandwich baggies! For my crafty readers, the supplies are all from Stampin' Up - Whisper White & Real Red cardstock, Wild Wasabi, Real Red & Pink Pirouette ink, and stamps from Wild About You, and Goody Goody Gumdrops.

